Set Up Entry Points and KINs
An entry point represents the door, gate, or other access point that a KIN controls. Create the entry point first, then link its nearby KIN.
Add an entry point
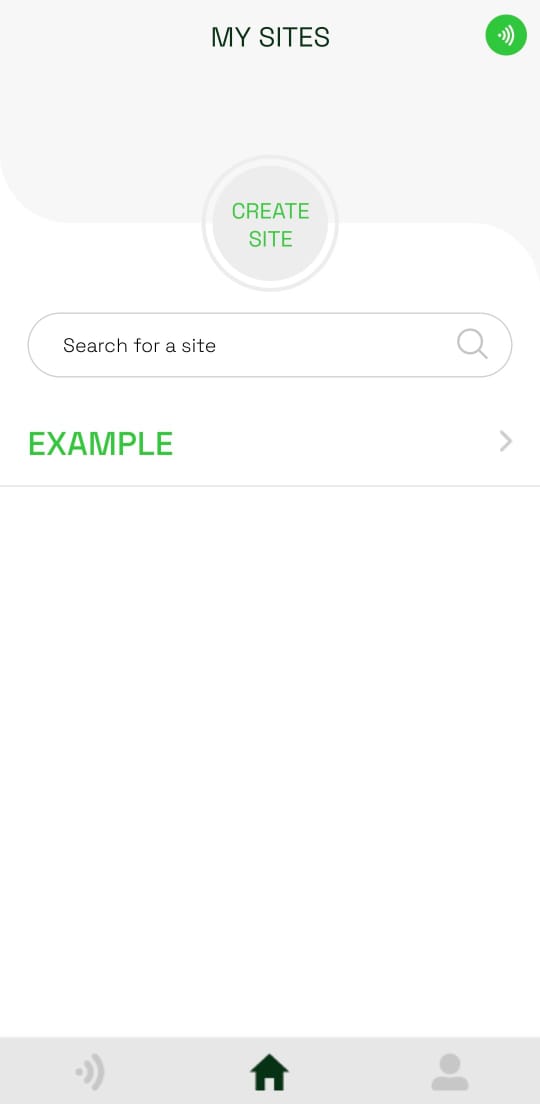
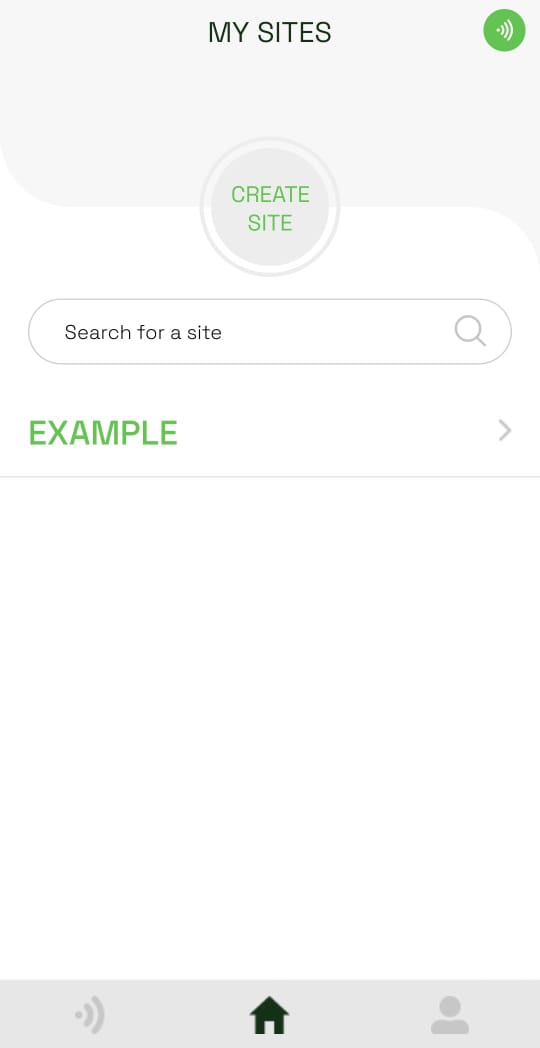
- Under My Sites, open the Type D site you want to manage.
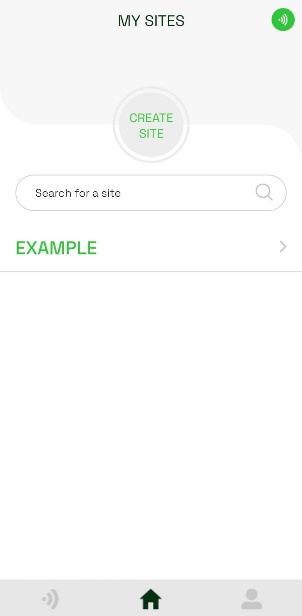
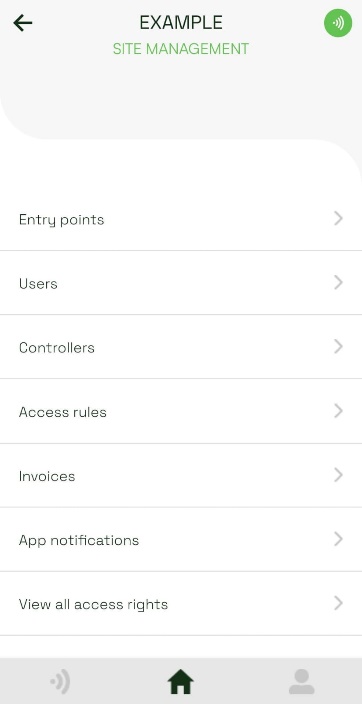
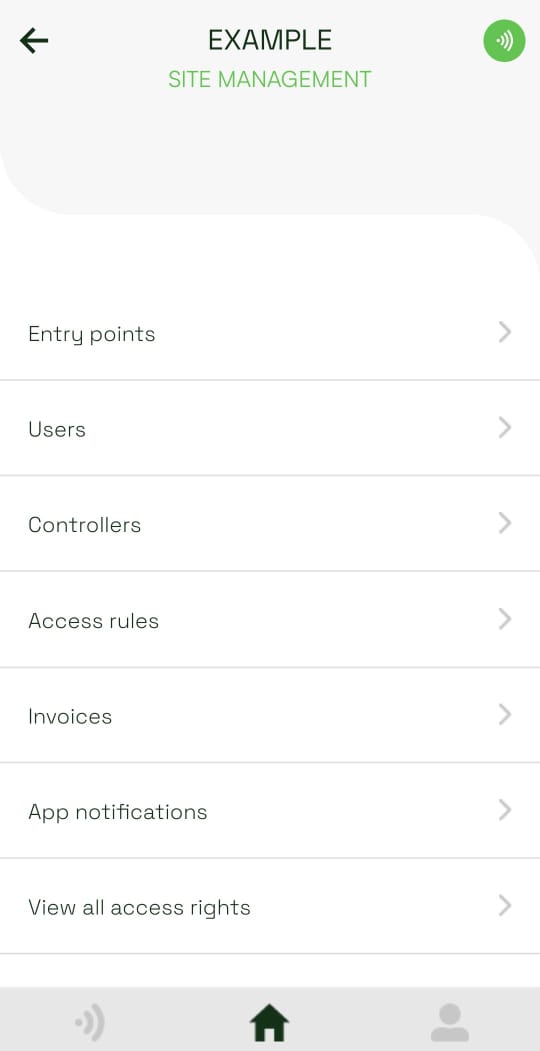
- Tap Entry points.
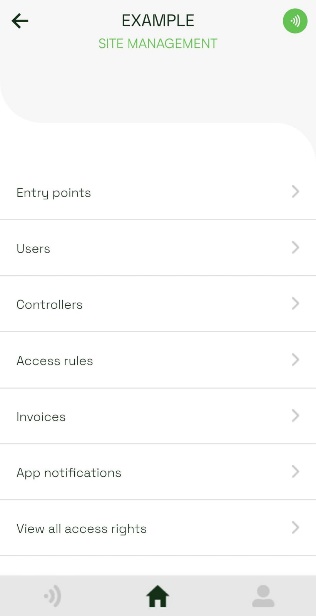
- Tap Add an entry point.
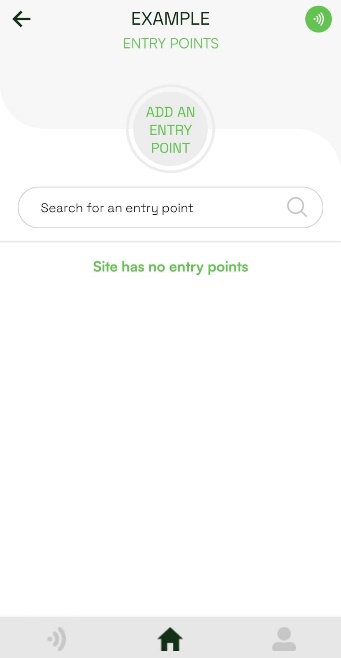
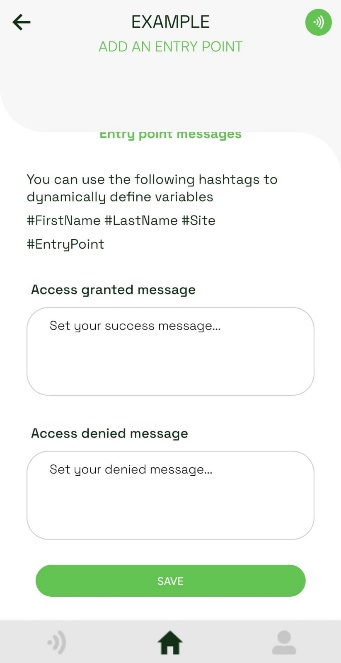
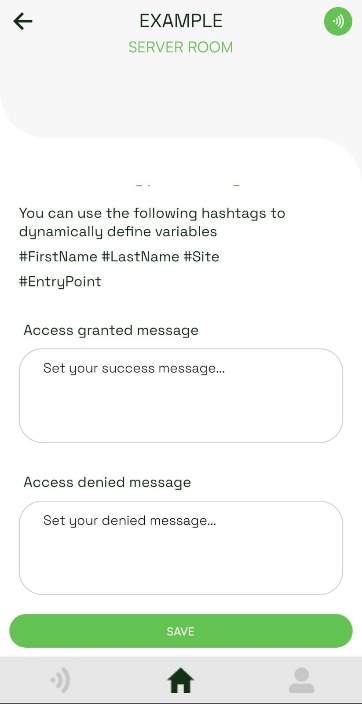
- Enter a unique entry point name. Optionally configure the access granted and access denied messages and the hashtags users can send. Tap Save.
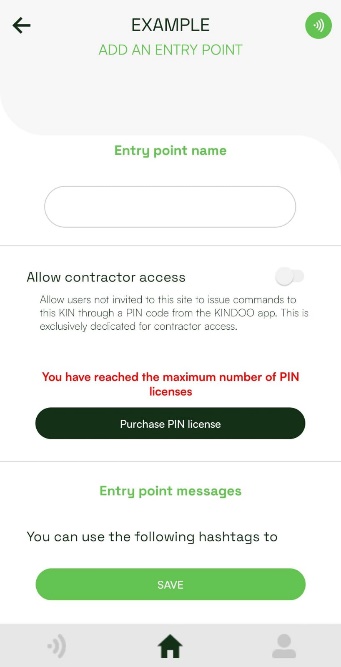
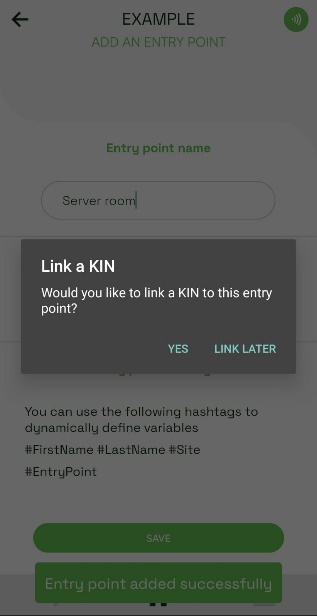
- Choose Yes to link a KIN now, or Link later to finish without a KIN. The entry point is created either way.
View and edit an entry point
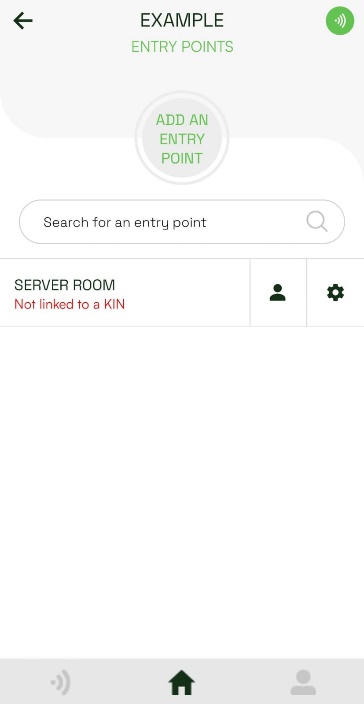
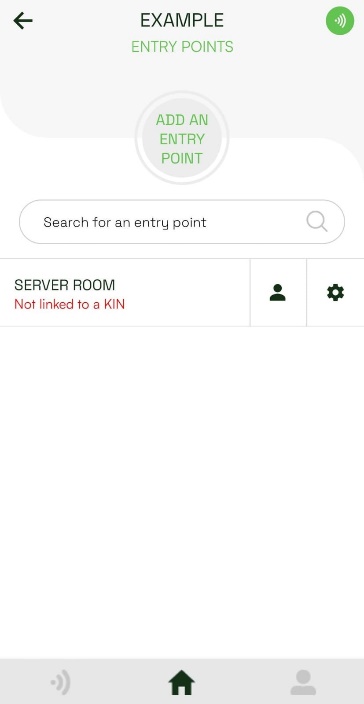
- Open the site, tap Entry points, and find the entry point you want to manage.
- Use the user icon to view access rights, or the settings icon to edit the entry point.
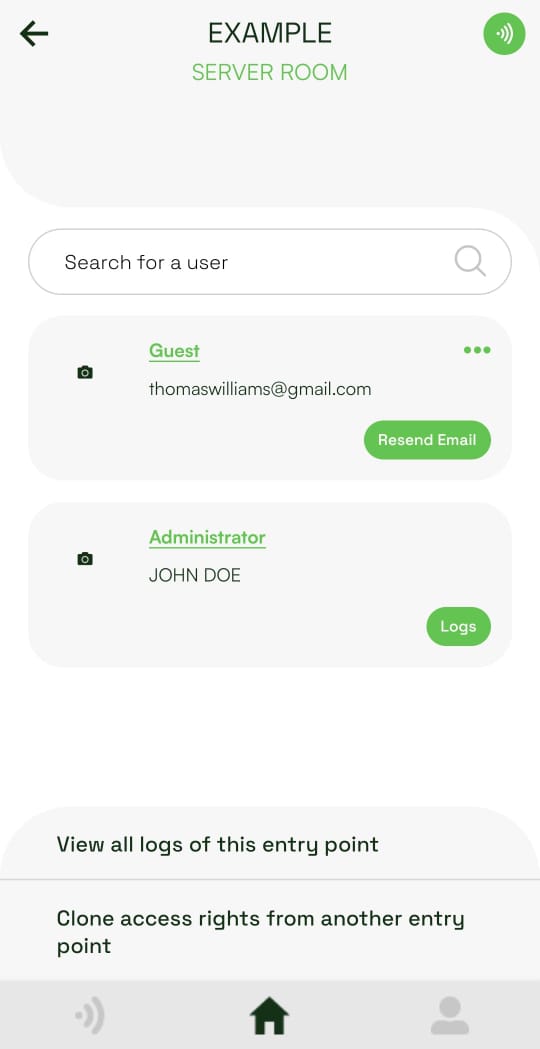
- On Access Rights, review the users who can access the entry point. You can also open the entry point logs or clone access rights from another entry point.
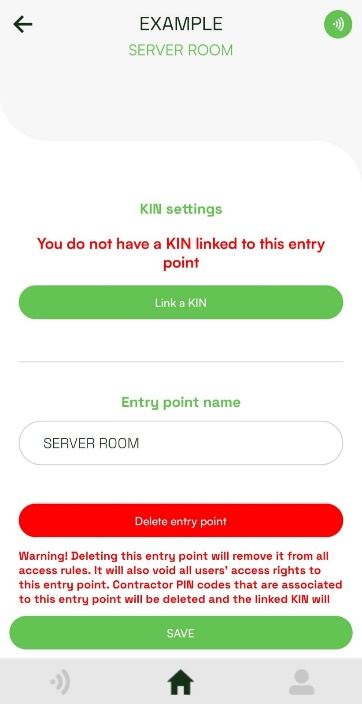
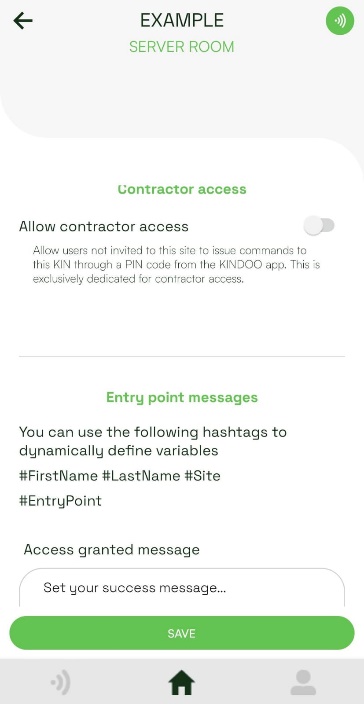
- On Settings, you can delete the entry point, link or unlink its KIN, and change the entry point name, messages, or KIN behavior. Tap Save after making changes.
Link a KIN
Before you start
Stand close to the physical KIN and make sure Bluetooth is enabled on your phone.
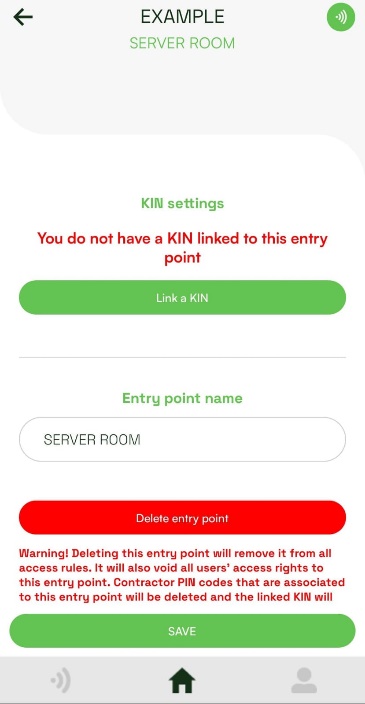
- Open the site, tap Entry points, then tap the settings icon beside the entry point.
- Tap Link a KIN.
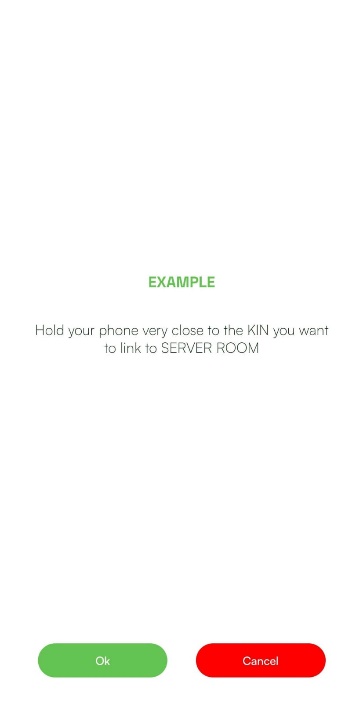
- Hold the phone very close to the KIN and tap OK to begin detection.
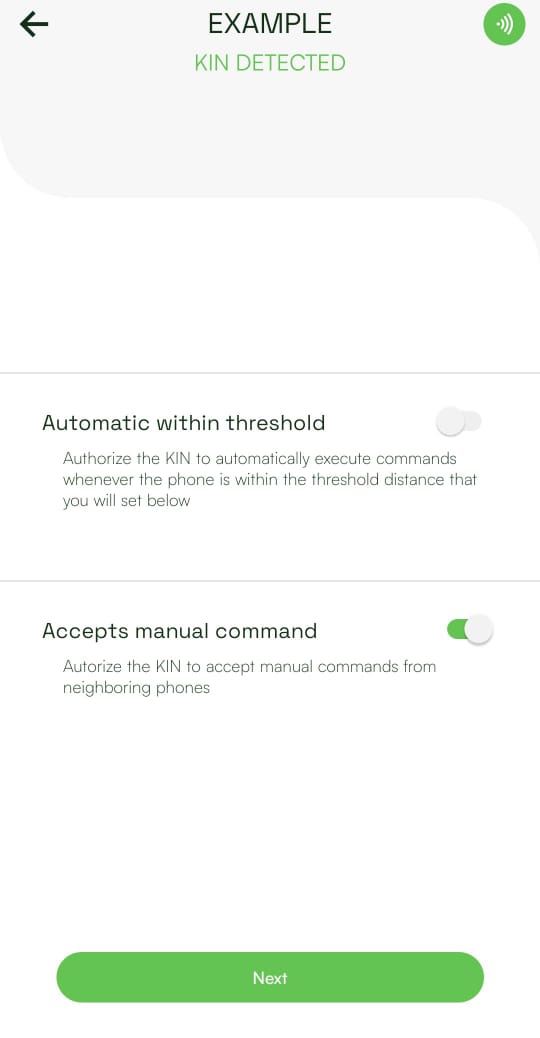
- After the app detects the KIN, configure its behavior. In the example, Accepts manual command is enabled. Tap Next.
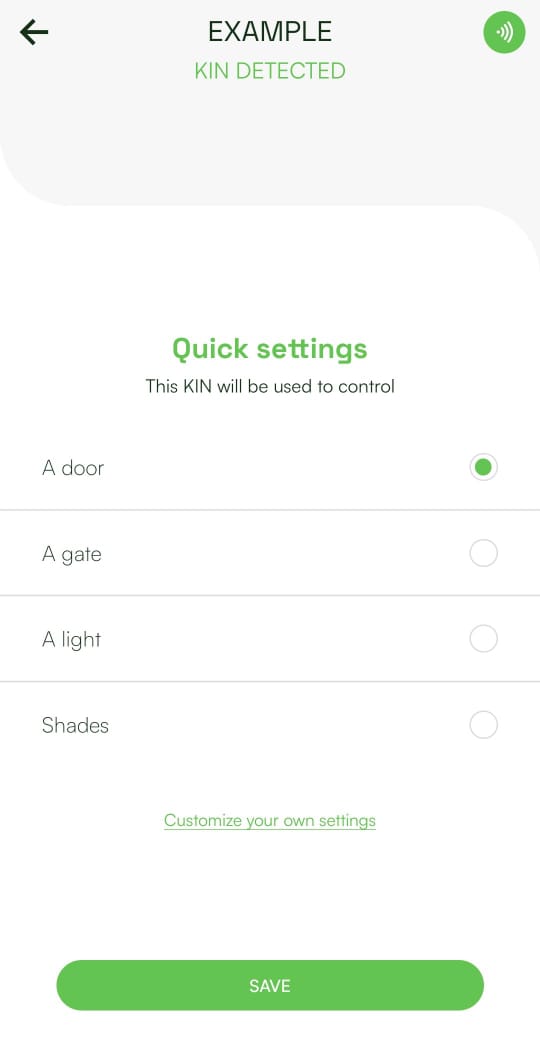
- Choose what the KIN controls, such as a door, gate, light, or shade. Tap Save.
The KIN is now linked to the entry point.