Add and Manage Controllers
A controller sends commands to nearby KINs over the network. Before setup, place the controller where it has reliable power, internet access, and proximity to every KIN it will operate.
Add a controller
Before you start
Have the 16-character key supplied with the controller box available.
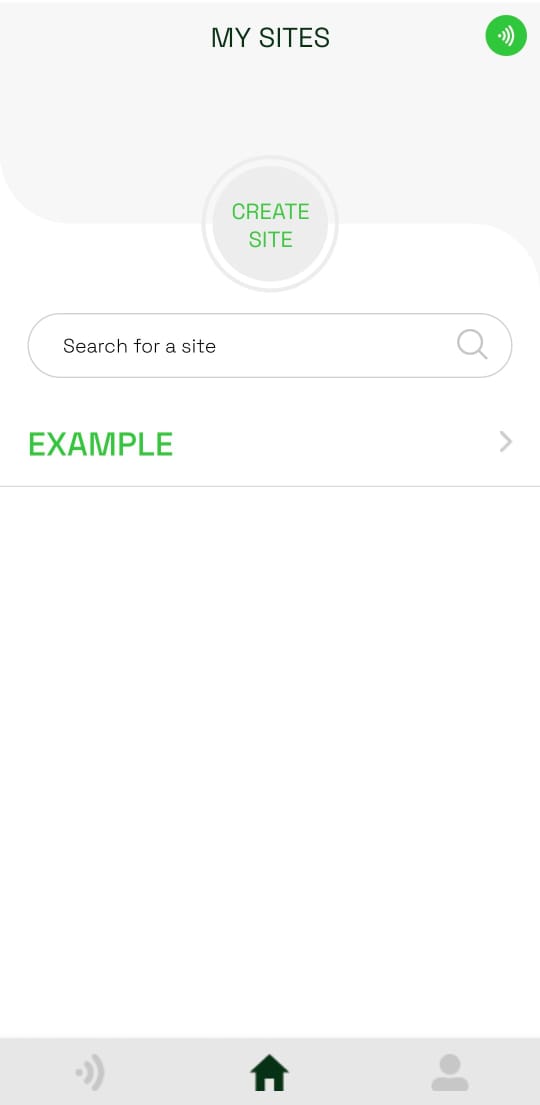
- Under My Sites, open the site where you want to add the controller.
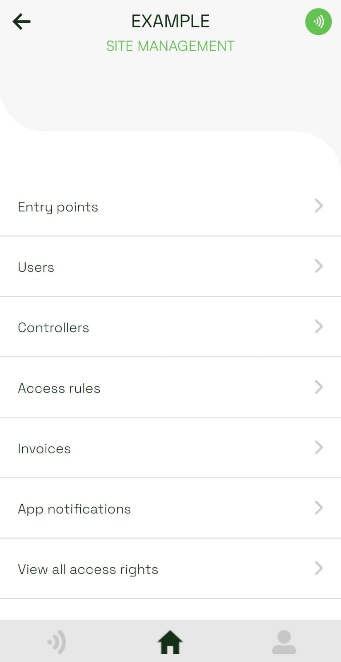
- Tap Controllers.
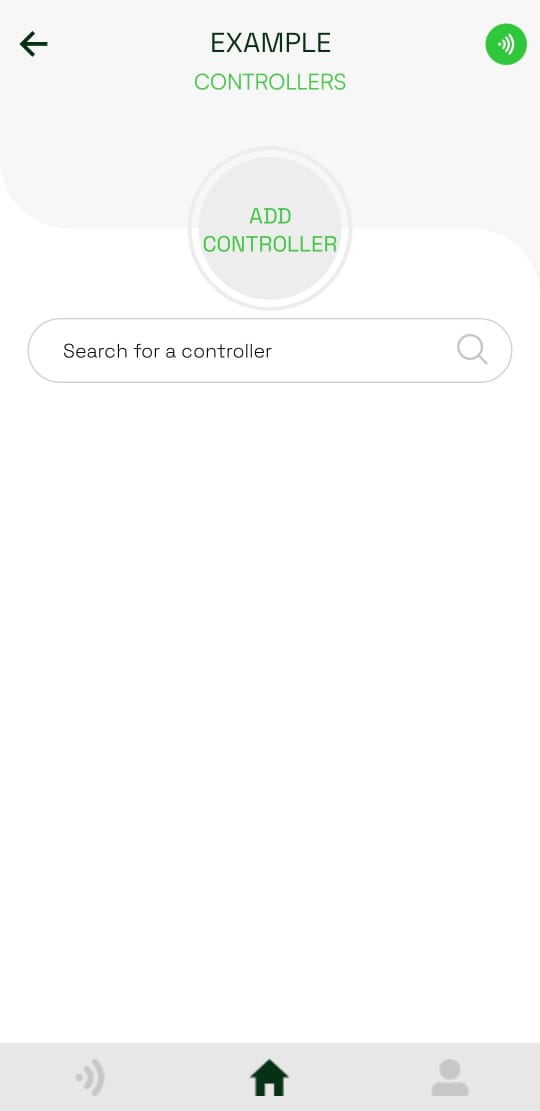
- Tap Add controller.
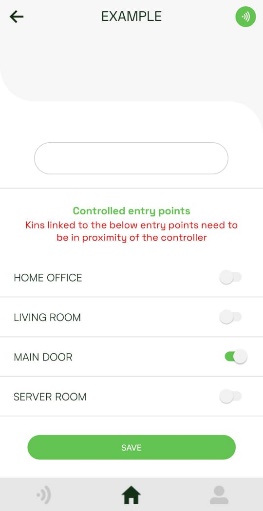
- Enter a display name and the controller's 16-character key.
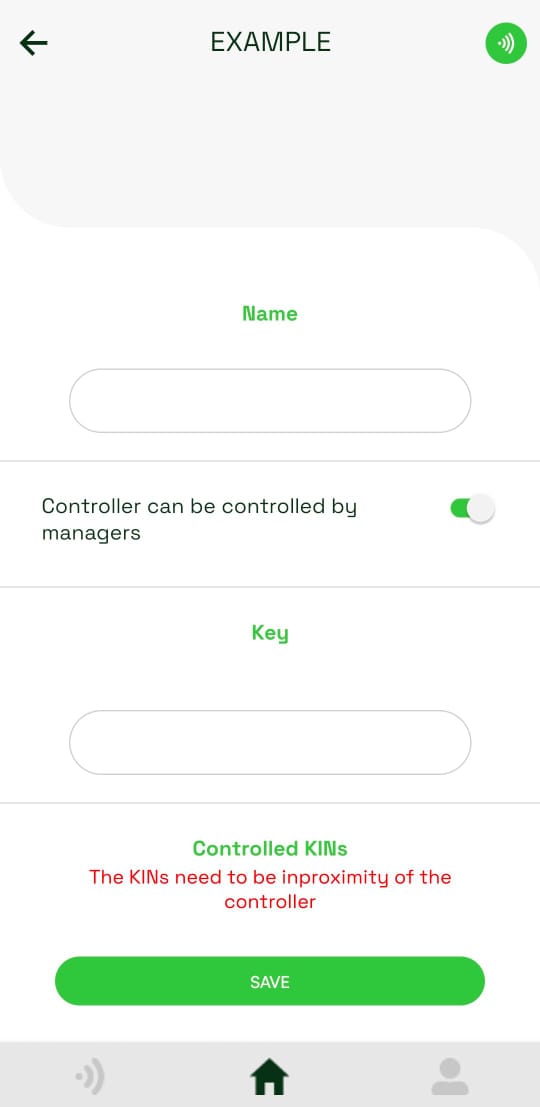
- Enable each entry point the controller should operate. Make sure the KIN linked to every selected entry point is physically near the controller. Tap Save.
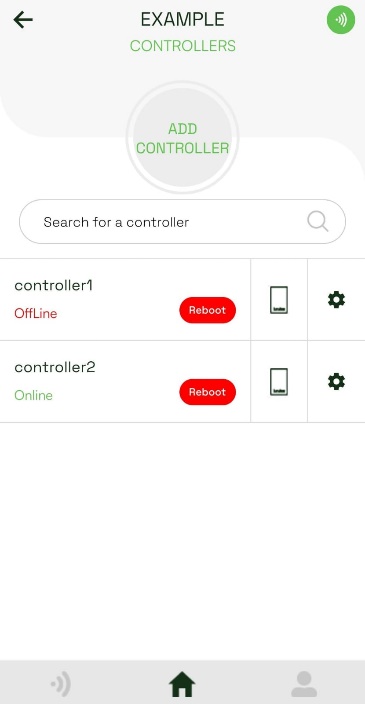
- The controller appears in the list with an Online or Offline status.
Manage a controller
- In the controller list, tap the settings icon beside the controller.
- Rename the controller, allow or prevent managers from controlling it, or change the controlled entry points. A green entry point switch means it is controlled; a gray switch means it is not controlled.
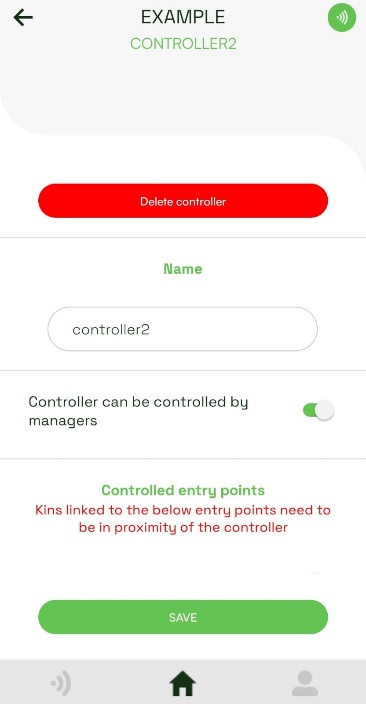
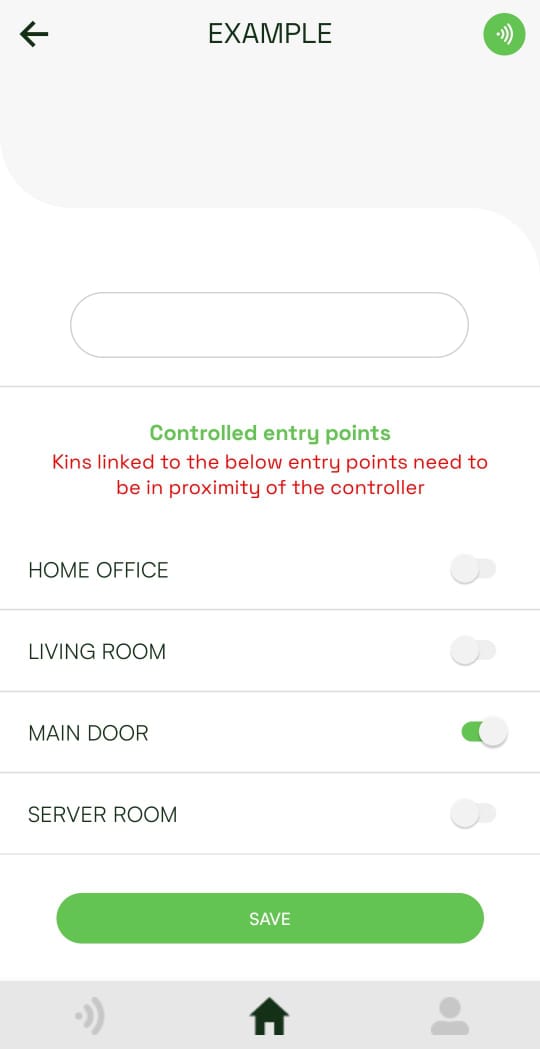
- Tap Save after changing the name, manager permission, or entry point selection.
To permanently remove the controller from the site, tap Delete controller on this page.