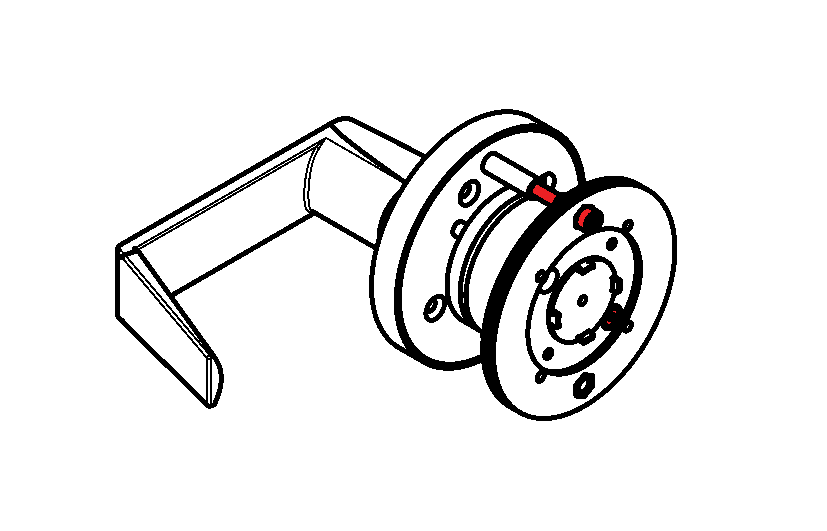
Door & Handle Preparation
Step 1: Door Prep and Latch Installation
- Prepare the door using the included ANSI 161 template. Use the backset that matches the latch you ordered.
- Insert the provided latch and secure it with the screws.
Step 2: Spacer Selection
Measure the door thickness and use the table below to determine the number of spacers required on each standoff.
| Door Thickness | Spacers per standoff |
|---|---|
| 1 ¼" | 0 |
| 1 ⅜" | 1 |
| 1 ½" | 2 |
| 1 ⅝" | 3 |
| 1 ¾" | 4 |
| 1 ⅞" | 5 |
| 2" | 6 |
Step 3: Pin Cutting
- Insert the cutting tool through the center hole of the door.
- Slide the collar against the door, then tighten the tool screw to lock it in position.
- Remove the tool without moving the collar.
- Insert the pin into the slider until it touches the back wall.
- Use a wire cutter to cut the pin so it is flush with the slider wall.
- Smooth the cut end with sandpaper.

warning
The KIN H - CL01 must only be used with the supplied latch. Using another latch will cause the handle to malfunction.
Step 4: Handle Preparation
- Carefully remove the handle assembly from the packaging.
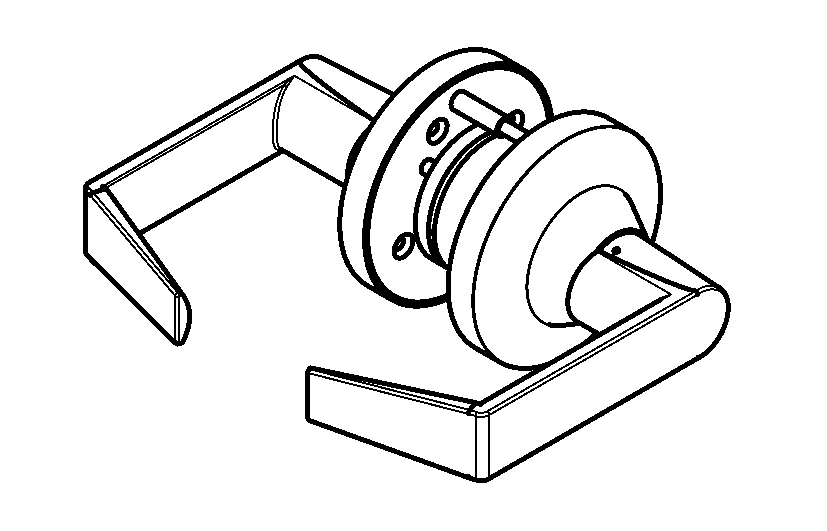
- Use the internal handle unlocker on both sides to release the handle. Pull off the internal handle; it may not release immediately. Then slide off the internal rose.
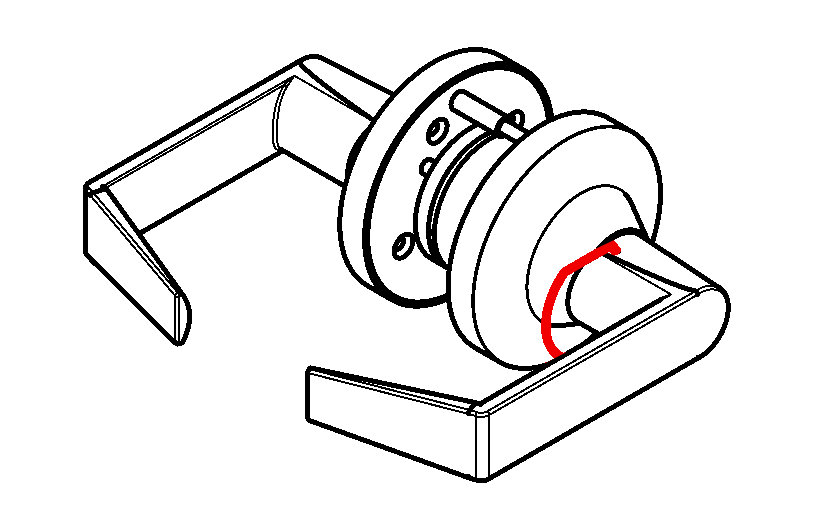
- Using a Phillips screwdriver, remove the two screws securing the handle mechanism. Remove the mechanism and discard the screws.
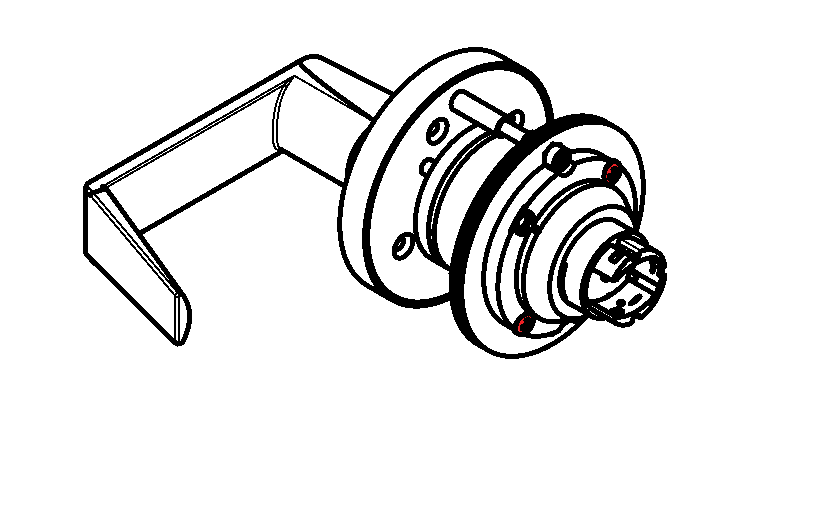
- Remove the two screws securing the internal plate. Remove the plate and discard the screws.