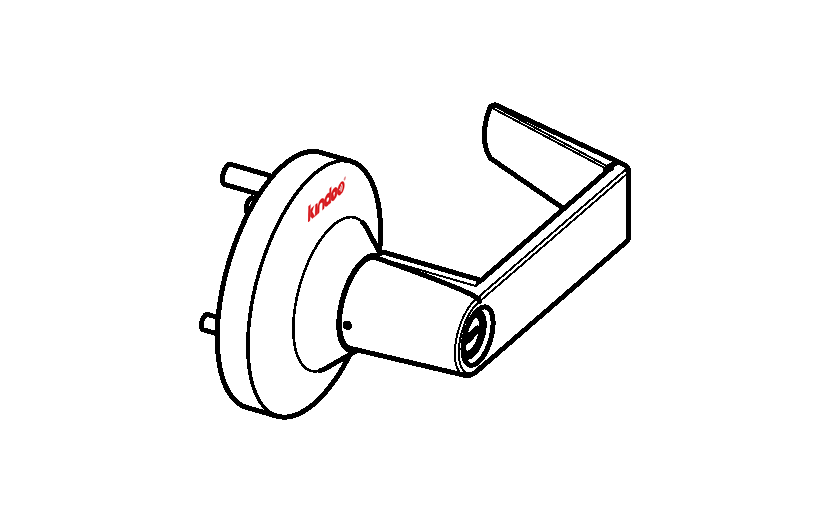
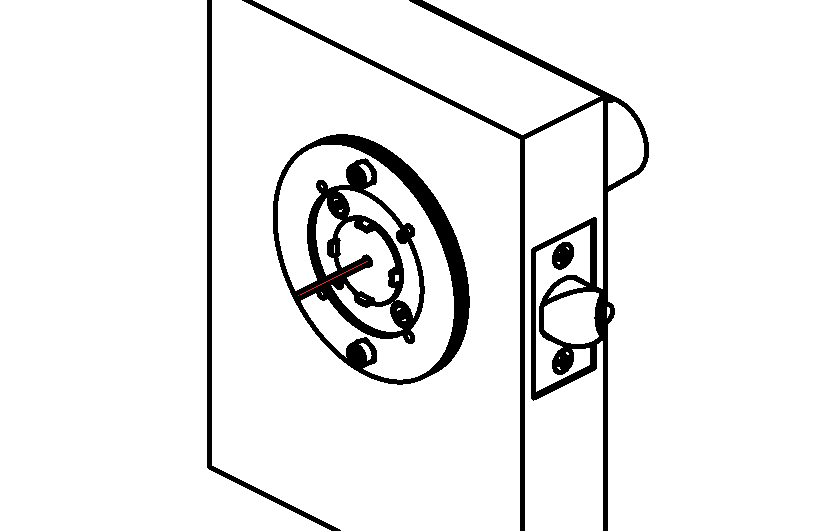
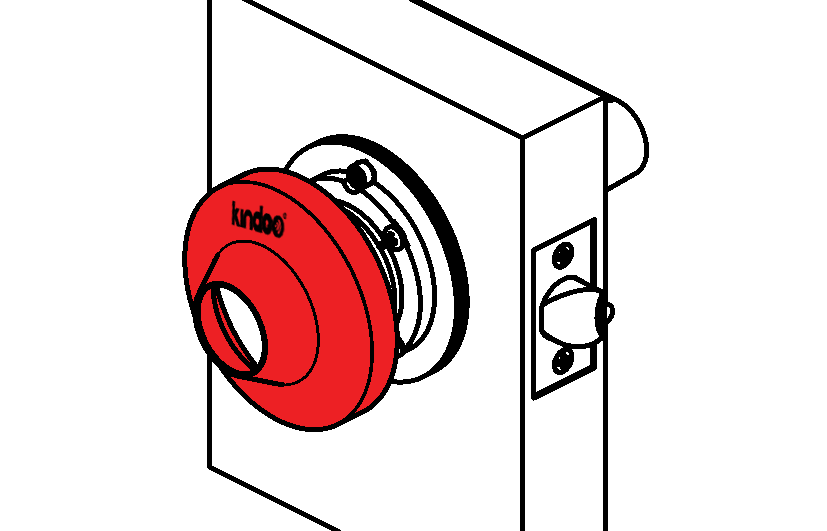
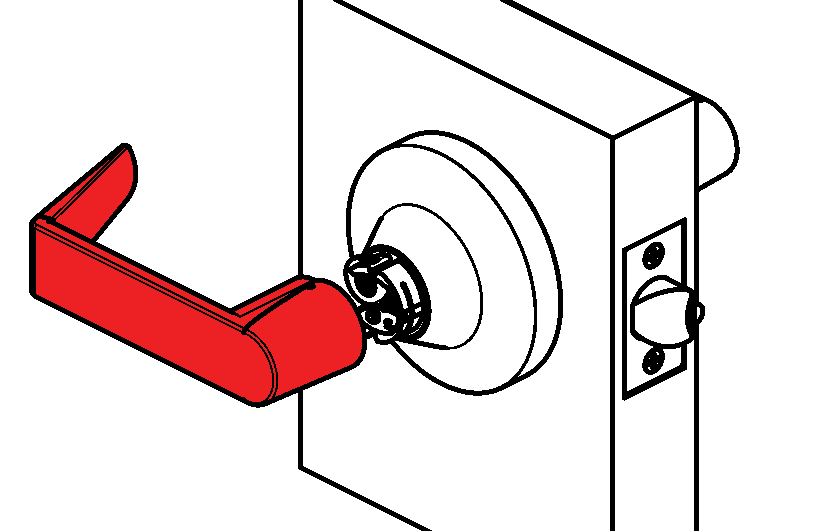
Determine the required external handle orientation. Rotate the rose so the Kindoo logo is upright when installed.
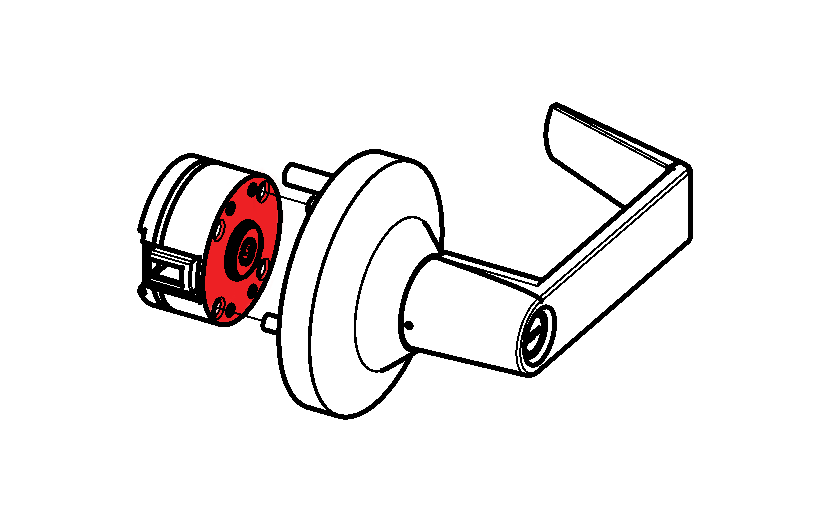
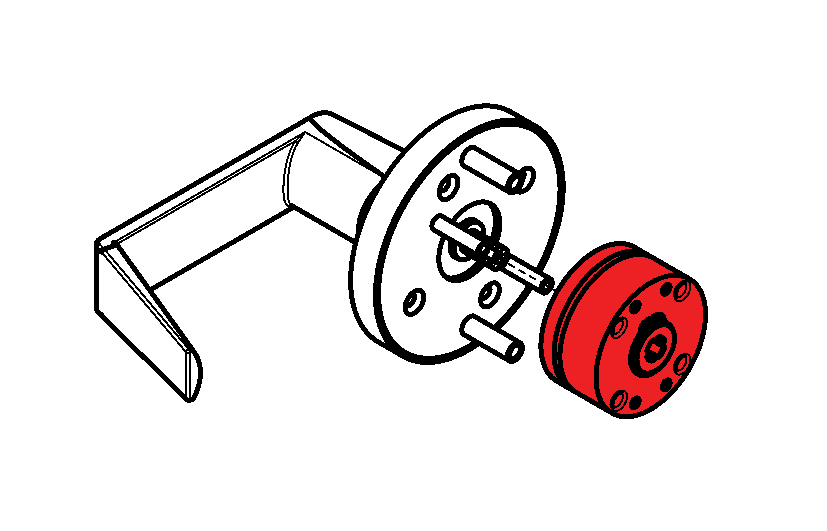
Align the central mechanism so the closed side (marked in red) faces outward, then slide it into the external handle.
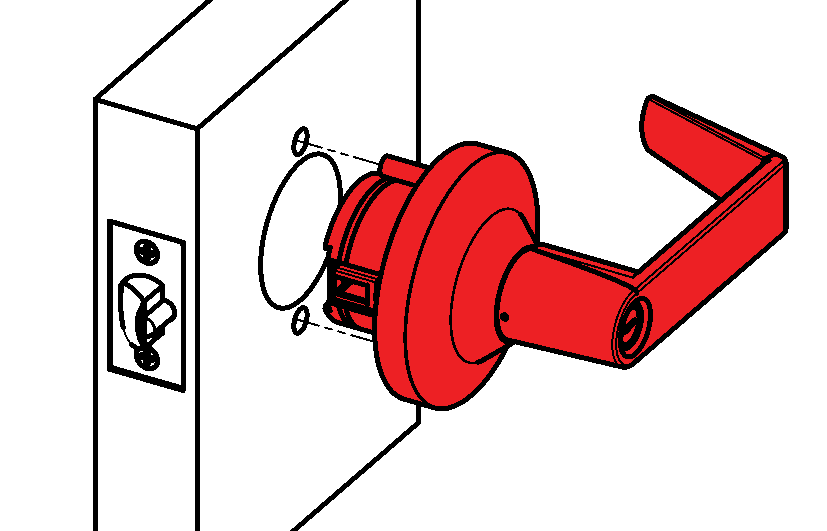
Insert the external handle and central mechanism through the prepared door opening.
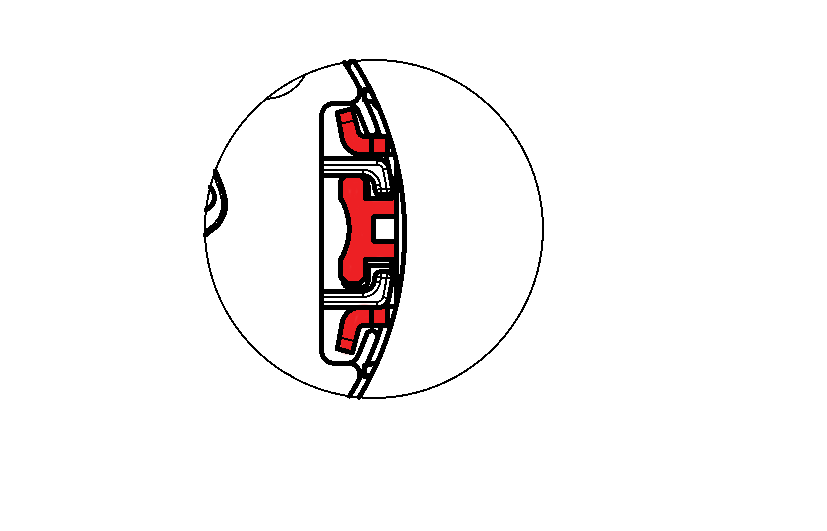
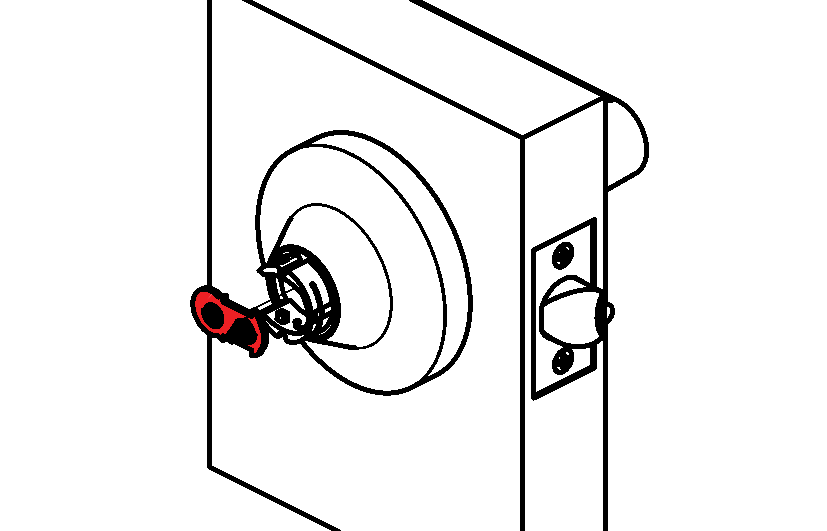
Ensure the central mechanism properly engages with the latch hooks (marked in red).
Slide the central mechanism out of the external handle assembly.
Place the correct number of spacers on each of the four standoffs, as determined in Step 2.
Slide the internal plate and spacers into place.
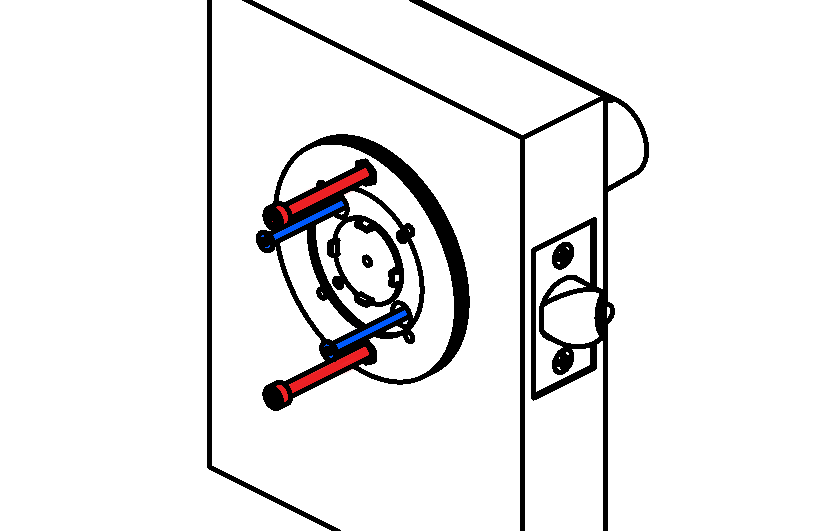
Secure the internal plate using 4 screws: first, insert the two socket screws (marked in red) loosely. Next, install the countersunk screws (marked in blue) and tighten them midway. Finally, fully tighten the socket screws, followed by the countersunk screws.
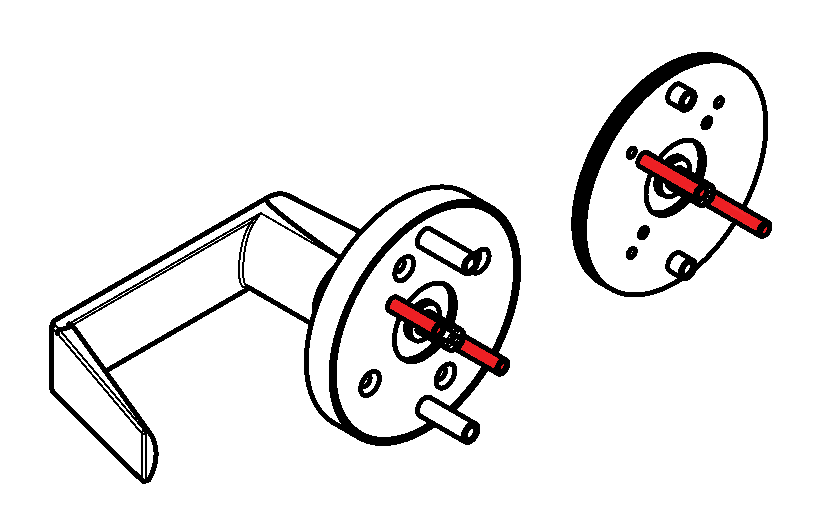
Insert the previously cut center pin into the center hole of the internal plate. Push it fully in.
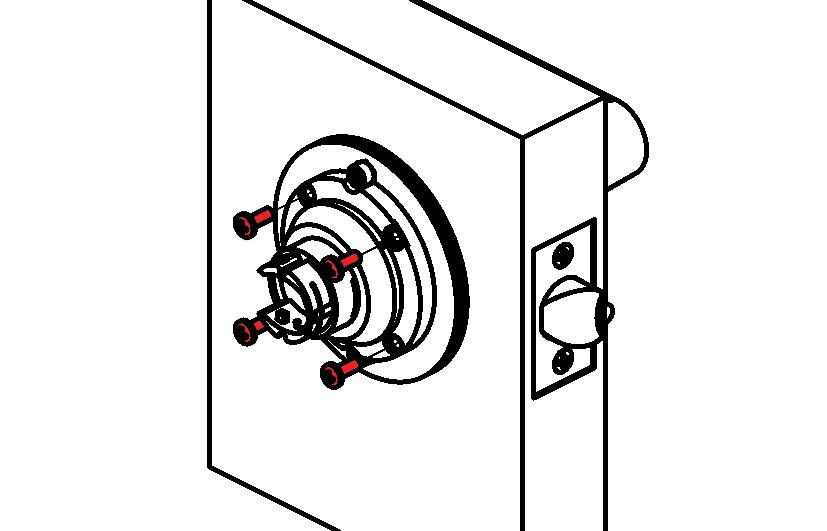
Install the internal handle mechanism and secure it with the four screws.
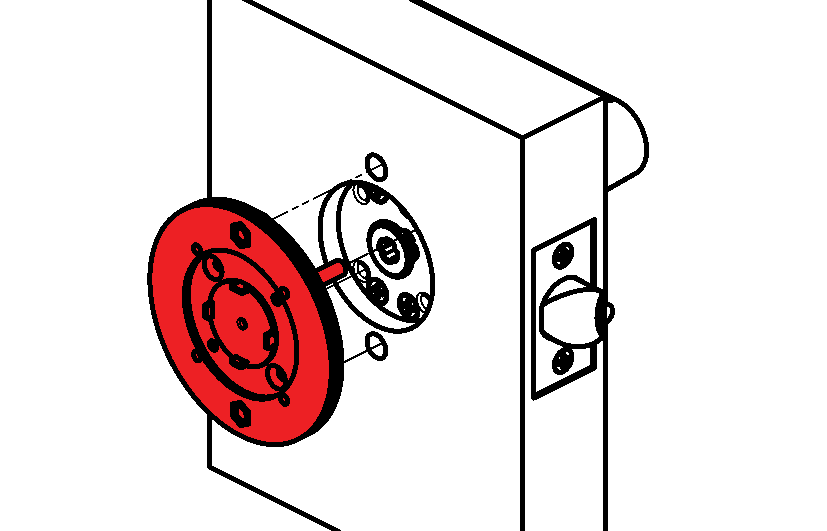
Install the internal rose, with the Kindoo logo upright. Press it fully into place until it sits flush against the door surface.
Insert the electronic board with the battery springs facing out. Push the board fully into place.
Install two CR123 batteries in the internal handle.
Push the internal handle onto the assembly until it clicks into place. If necessary, press in the locking pins while sliding the handle on.